Adding Images to Link Items
Lists of links can look pretty text-heavy unless you "dress them up" a bit with an image. While the Link editing window does provide a way to attach Thumbnails, it doesn't allow you to control where they appear in the list of links. If you want to do this, the procedure outlined below--which involves a wee little bit of HTML and CSS--should do the job for you. It's not really as complicated as it looks!
 Start by using the LG2 Image Manager (under the Content dropdown menu) to upload the image you want to embed in the list of links. Hint: it saves a little time and effort to have the Image Manager in a separate window from the window where you're editing the list of links.
- Here's part of one of my sets of images. I'm going to use the image labeled czarist-russia-color...
- Click on the little icon below the image the looks like two links in a chain. You should see something like this:
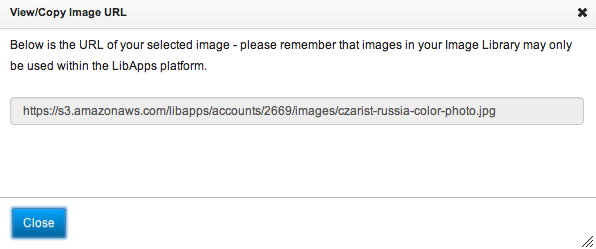
- Click on and copy the URL. Then close the window and return to the page with the list of links you're working on.
- Pick link to which you wish to add an image. I usually pick one near the top of the list, since the remaining links below it will wrap around the image.
 Click on the little icon to edit the link. Here's what the Link Editor box looks like after the addition of the HTML/CSS (on which, see below). You can add the HTML/CSS code to either the Link Name field or the Description field.
- Whichever field you use, here are the elements needed to make it work correctly: <img src="image url" alt="image description" style="float:right;" /> Link Name
- The order of the src, alt and style elements doesn't matter.
- Image size: it's best to edit your image to an appropriate size before you upload it to the Image Manager. The total available width of the content box is about 700 pixels, so scale your images accordingly!
- For image url in the example above, paste in the actual URL that you copied in Step 4.
- Be sure you use all the punctuation marks exactly as indicated!
- If you want the image to be left-aligned, change "float:right;" to "float:left;"
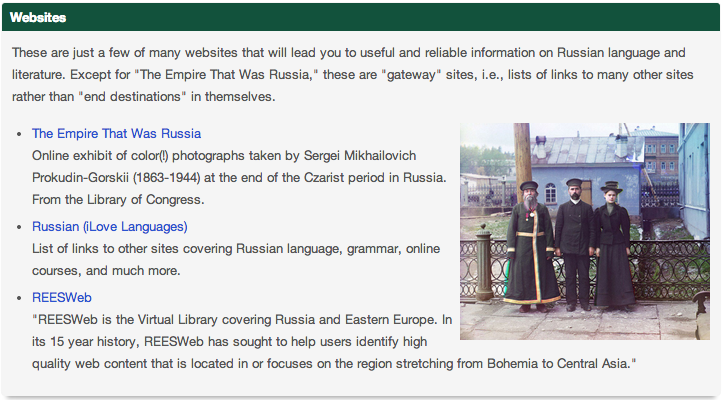
- Below is the finished list, with the image aligned to the right of the list items.
 Start by using the LG2 Image Manager (under the Content dropdown menu) to upload the image you want to embed in the list of links. Hint: it saves a little time and effort to have the Image Manager in a separate window from the window where you're editing the list of links.
 Click on the little icon to edit the link. Here's what the Link Editor box looks like after the addition of the HTML/CSS (on which, see below). You can add the HTML/CSS code to either the Link Name field or the Description field.